作成
hogeという名前のアプリケーションを作成する。
$ rails new hoge
必要なファイルの作成とbundle installが実行される。この時にbundle installをスキップしたい時は–skip-bundleを付ける。
$ rails new hoge --skip-bundle
複数のバージョンのRailsをインストールしている場合は、最も新しいバージョンのRailsが利用されるが、この時特定のバージョンで作成したい場合はバージョン番号を付加する。バージョン4.3.0のRailsを利用する場合はこのようになる。
$ rails _4.3.0_ new hoge
デフォルトではデータベースにはsqliteが使用されるので、mysqlにしたい場合は-dオプションでmysqlを指定する。
$ rails new hoge -d mysql
また全てのオプションは-hオプションで確認する。
$ rails new -h
Usage:
 rails new APP_PATH [options]

Options:
 -r, [--ruby=PATH] # Path to the Ruby binary of your choice
 # Default: /Users/tokuvin/.rbenv/versions/2.2.3/bin/ruby
 -m, [--template=TEMPLATE] # Path to some application template (can be a filesystem path or URL)
 [--skip-gemfile], [--no-skip-gemfile] # Don't create a Gemfile
・・・
動作確認
続いて作成したRailsアプリケーションのディレクトリに移動して、Railsアプリケーションを起動する。
起動にはbinディレクトリにあるrailsコマンドを利用し、bin/rails sもしくはbin/rails serverで起動できる。rails sでも使えるが、複数バージョンのrailsがインストールされていた場合に必要なrailsコマンドではない場合があるのでbinの物を使用する。
$ cd hoge
$ bin/rails s
=> Booting WEBrick
=> Rails 4.2.3 application starting in development on http://localhost:3000
=> Run `rails server -h` for more startup options
=> Ctrl-C to shutdown server
[2015-11-24 10:48:22] INFO WEBrick 1.3.1
[2015-11-24 10:48:22] INFO ruby 2.2.3 (2015-08-18) [x86_64-darwin15]
[2015-11-24 10:48:22] INFO WEBrick::HTTPServer#start: pid=1911 port=3000
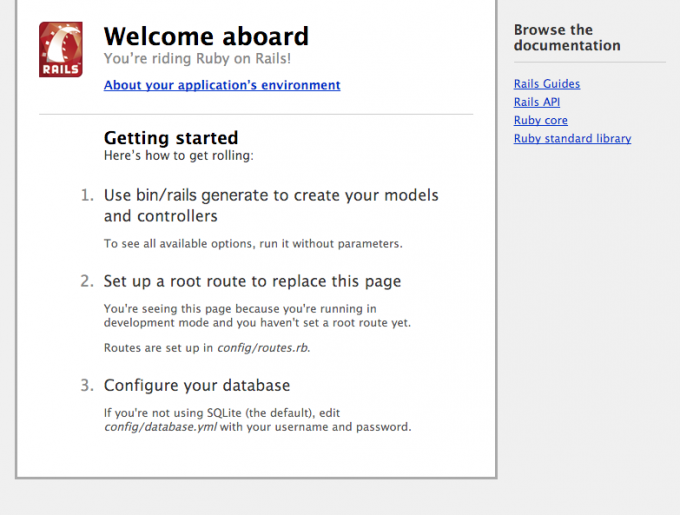
WebサーバにはWEBrickを使用してRailsアプリケーションが起動する。ブラウザを開き、起動時のメッセージにある通りhttp://localhost:3000でRailsアプリケーションにアクセスできる事を確認する。

Railsアプリケーションを終了するにはターミナルでCtrl-Cを押す。
Ctrl-C ← 入力
[2015-11-24 10:52:35] INFO going to shutdown ...
[2015-11-24 10:52:35] INFO WEBrick::HTTPServer#start done.
Exiting


コメント